LOTO Procedural Deep Dive
From Concept to Practice
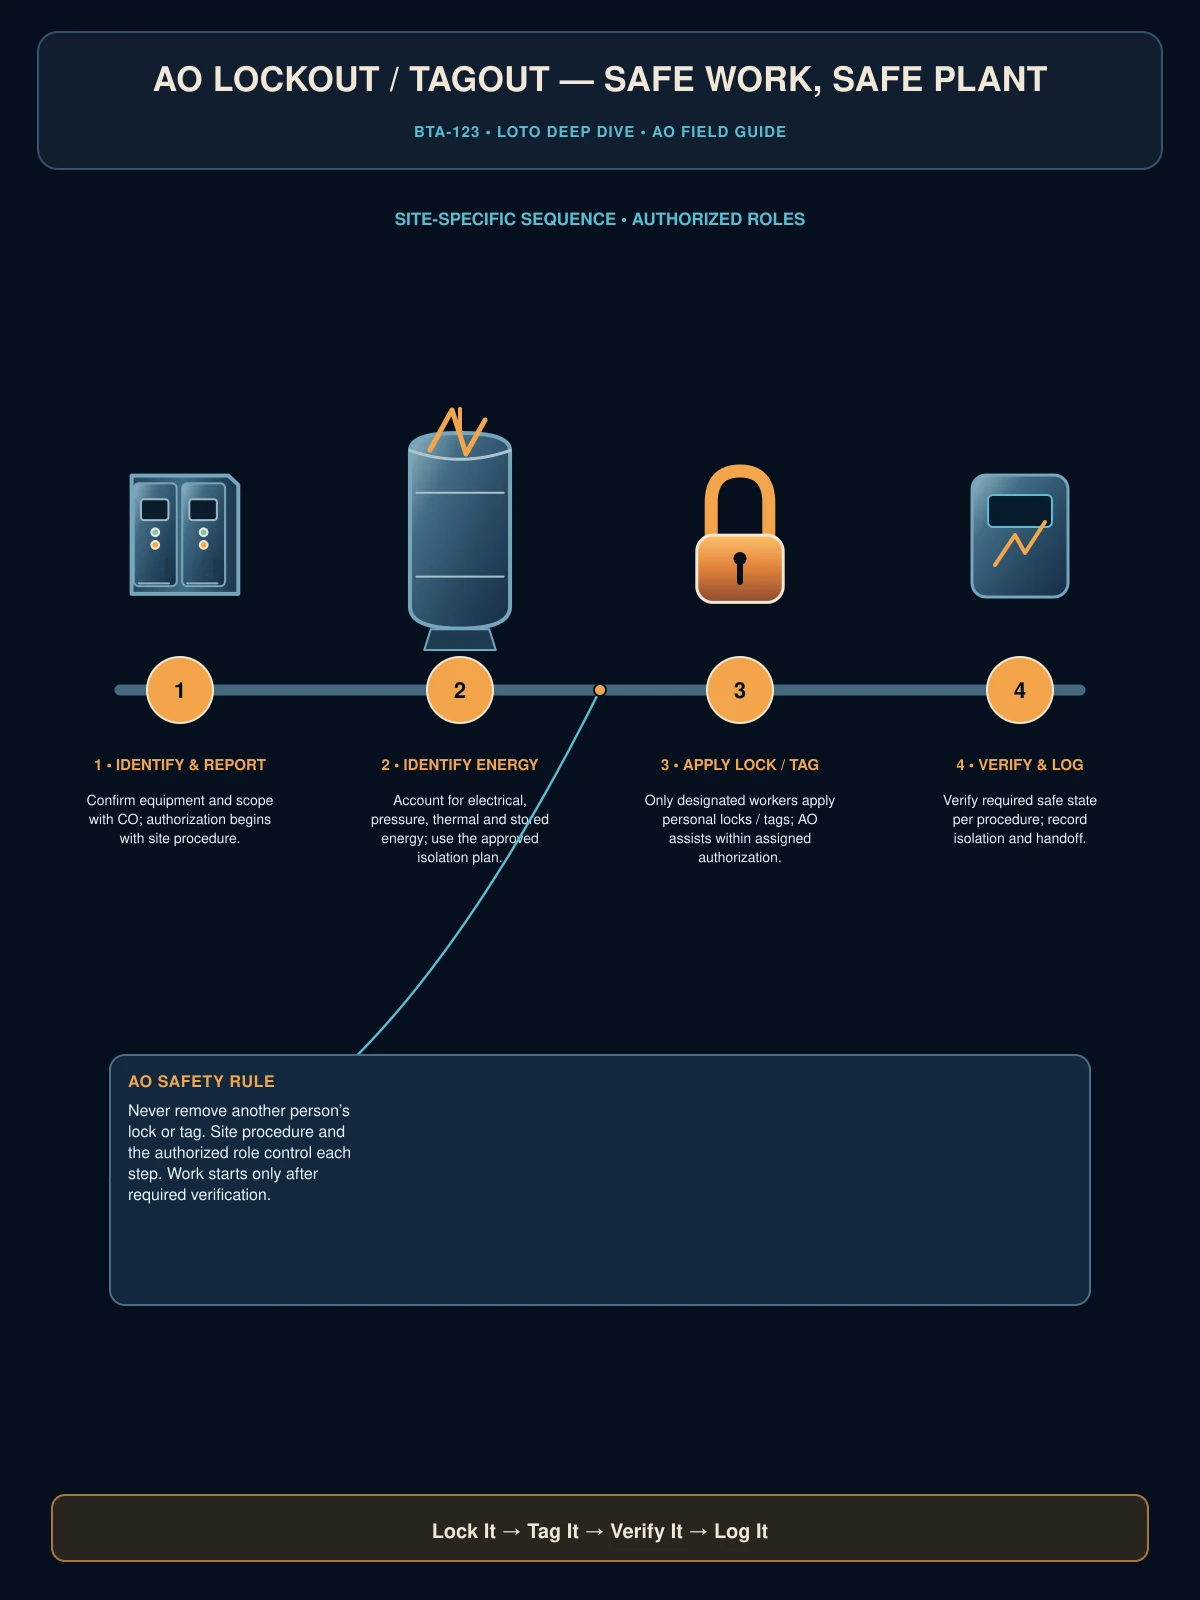
BTA-103 introduced Lockout/Tagout as a concept — why it exists and its basic principles. This module walks through an actual LOTO procedure step by step, the way you'd genuinely encounter it before performing work on plant equipment. The nine steps in the diagram are a generic sequence; your plant's specific written procedure is the authoritative version, but this general structure holds across virtually every industrial LOTO program.
Step 1-2: Identify and Notify
Before touching anything, every energy source feeding the equipment must be identified — this often means more sources than people initially assume. A single pump might have electrical energy (the motor), mechanical energy (a coupling to another rotating component), and stored energy (pressure trapped in the casing) all at once. Missing even one source undermines the entire procedure. Once sources are identified, everyone who operates or works near the affected equipment needs to be notified before work begins — an operator who doesn't know equipment is being locked out might otherwise attempt to start it.
Step 3-4: Shut Down and Isolate
Equipment is shut down through its normal operating procedure — not simply yanked offline abruptly if a controlled shutdown is possible. Then each identified energy source is isolated: opening a breaker (and often racking it out, per BTA-112), closing and possibly chaining/blocking a valve, blocking a mechanical component from moving, or relieving a pressurized system to atmosphere.
Step 5: Apply Locks and Tags
Each isolation point gets a lock and a tag identifying who applied it and why. This is where the individual-lock principle from BTA-103 is critical: every person performing work applies their own personal lock to every isolation point relevant to their work — not just one lock for the whole crew.
Step 6: Release Stored Energy
Isolating a source doesn't automatically dissipate energy already stored in the system — a pressurized line still has pressure in it even after the supply valve is closed; a spring-loaded mechanism still has stored tension. This step deliberately relieves, drains, blocks, or otherwise neutralizes any residual stored energy before work begins.
Stored energy is the category most often overlooked by people newer to LOTO, because isolation (Step 4) can feel like "the job is done." A capacitor still holding a charge after a breaker opens, gravity acting on an elevated component, or residual pressure in a line downstream of a closed valve are all real examples — always ask specifically what stored energy might remain, for every job.
Step 7: Verify Zero Energy
This is the "try before you rely" step — attempting to start the equipment using its normal controls (which should do nothing, confirming isolation), and, where applicable, directly testing for zero energy (like using a meter to confirm no voltage present). This step is never skipped, regardless of how confident anyone is that the isolation was performed correctly.
Step 8-9: Perform Work and Restore
Only after verification is work actually performed. Restoring equipment to service reverses the sequence carefully: removing tools and materials, verifying the area is clear, removing locks (each person removing only their own lock), restoring energy sources, and returning equipment to service through its normal startup procedure.
Group Lockout and Multi-Shift Jobs
When multiple people, or a job spanning multiple shifts, are involved, a group lockout box is one common, compliant way to satisfy OSHA's group lockout requirement: the isolation points are locked with a primary lock, that lock's key goes into a lockbox, and every individual worker then applies their own personal lock to the lockbox itself. This isn't the only configuration your plant might use — the underlying OSHA requirement (29 CFR 1910.147) is that each authorized employee affixes a personal lockout device to the group lockout mechanism, and different plants implement that requirement differently. No isolation point ever has a single point of failure where removing one lock exposes everyone — the box can't be opened until every individual lock is removed, and each person removes only their own.
Why the Sequence Matters
Every step in this procedure exists because skipping it has, historically, caused real injuries somewhere in industry. This isn't bureaucratic caution for its own sake — it's the accumulated lesson of exactly what goes wrong when any single step gets shortcut, whether from time pressure, overconfidence, or simple oversight. Following the full sequence, every time, on every job, is what keeps that lesson from needing to be relearned the hard way.
Ready to test what you just learned?